
XR toolbox, Part 1 : IOS-XR Vagrant Quick Start
Introduction
This tutorial is meant to be a quick-start guide to get you up and running with an IOS-XRv Vagrant box.
If you’re unfamiliar with Vagrant as a tool for development, testing and design, then here’s a quick look at why Vagrant is useful, directly from the folks at Hashicorp:
To learn more about how to use IOS-XR + Vagrant to
- Test native and container applications on IOS-XR
- Use configuration management tools like Chef/Puppet/Ansible/Shell as Vagrant provisioners
- Create complicated topologies and a variety of other use cases,
take a look at the rest of the “XR toolbox” series.
Note to Users: We try our best to offer the community a development platform for IOS-XR that brings the latest features in XR to your laptop or development environment. Having said that, any issues found on IOS-XRv64 are fixed on a best-effort basis and we do not guarantee an SLA on fixes. We strive to provide a platform that the community can work with and help stabilize through their use. Any feedback is appreciated and you can always leave your comments below.
Pre-requisites:
- Vagrant for your Operating System. 1.8+
There is currently a bug in vagrant version 1.8.7 causing a failure in vagrant box add on Mac OSX. Either follow the workaround as specified here: https://github.com/mitchellh/vagrant/issues/7997 or downgrade to Vagrant version 1.8.6
- Virtualbox for your Operating System. 5.1+
- A laptop with atleast 4-5G free RAM. (Each XR vagrant instance uses upto 4G RAM, so plan ahead based on the number of XR nodes you want to run)
Tha above items are applicable to all operating systems - Mac OSX, Linux or Windows.
If you’re using Windows, we would urge you to download a utility like Git Bash so that all the commands provided below work as advertised.
Single Node Bringup
Download and Add the IOS-XRv vagrant box
IOS-XR Vagrant is currently in Private Beta
To download the box, you will need an API-KEY and a CCO-ID
To get the API-KEY and a CCO-ID, browse to the following link and follow the steps:
Pick the last stable version
The last stable version of XR vagrant was 6.1.2.These images have been out for a while, and should work well. Pick this if you want something that works for sure.
$ BOXURL="https://devhub.cisco.com/artifactory/appdevci-release/XRv64/6.1.2/iosxrv-fullk9-x64.box"

$ curl -u your-cco-id:API-KEY $BOXURL --output ~/iosxrv-fullk9-x64.box

$ vagrant box add --name IOS-XRv ~/iosxrv-fullk9-x64.box
Pick the latest (run with scissors)
If you’re feeling adventurous, pick the latest version of the XR vagrant box as shown below. Bear in mind, there may be bugs and you are free to ask us questions and/or raise issues on our github repo:
$ BOXURL="https://devhub.cisco.com/artifactory/XRv64-snapshot/latest/iosxrv-fullk9-x64.latest.box"

$ curl -u your-cco-id:API-KEY $BOXURL --output ~/iosxrv-fullk9-x64.box

$ vagrant box add --name IOS-XRv ~/iosxrv-fullk9-x64.box
Of course, you should replace your-cco-id with your actual Cisco.com ID and API-KEY with the key you generated and copied using the above link.
The curl command will take around 10-15 mins as it downloads the box for you. If it happens pretty quickly then it probably means you still don’t have access and you can check the downloaded box file to see if it is a vagrant box (about 1.8G) or a simple “unauthorized” html document.
Once it completes, you should be able to see the box added as “IOS-XRv” in your local vagrant box list:
AKSHSHAR-M-K0DS:~ akshshar$ vagrant box list
IOS-XRv (virtualbox, 0)
AKSHSHAR-M-K0DS:~ akshshar$
Initialize a Vagrantfile
Let’s create a working directory (any name would do) for our next set of tasks:
mkdir ~/iosxrv; cd ~/iosxrv
Now, in this directory, let’s initialize a Vagrantfile with the name of the box we added.
AKSHSHAR-M-K0DS:iosxrv akshshar$ vagrant init IOS-XRv
A `Vagrantfile` has been placed in this directory. You are now
ready to `vagrant up` your first virtual environment! Please read
the comments in the Vagrantfile as well as documentation on
`vagrantup.com` for more information on using Vagrant.
AKSHSHAR-M-K0DS:iosxrv akshshar$
Bring up the Vagrant Instance
A simple vagrant up will bring up the XR instance
vagrant up
This bootup process will take some time, (close to 5 minutes).
You might see some ` Warning: Remote connection disconnect. Retrying…` messages. Ignore them. These messages appear because the box takes longer than a normal linux machine to boot.
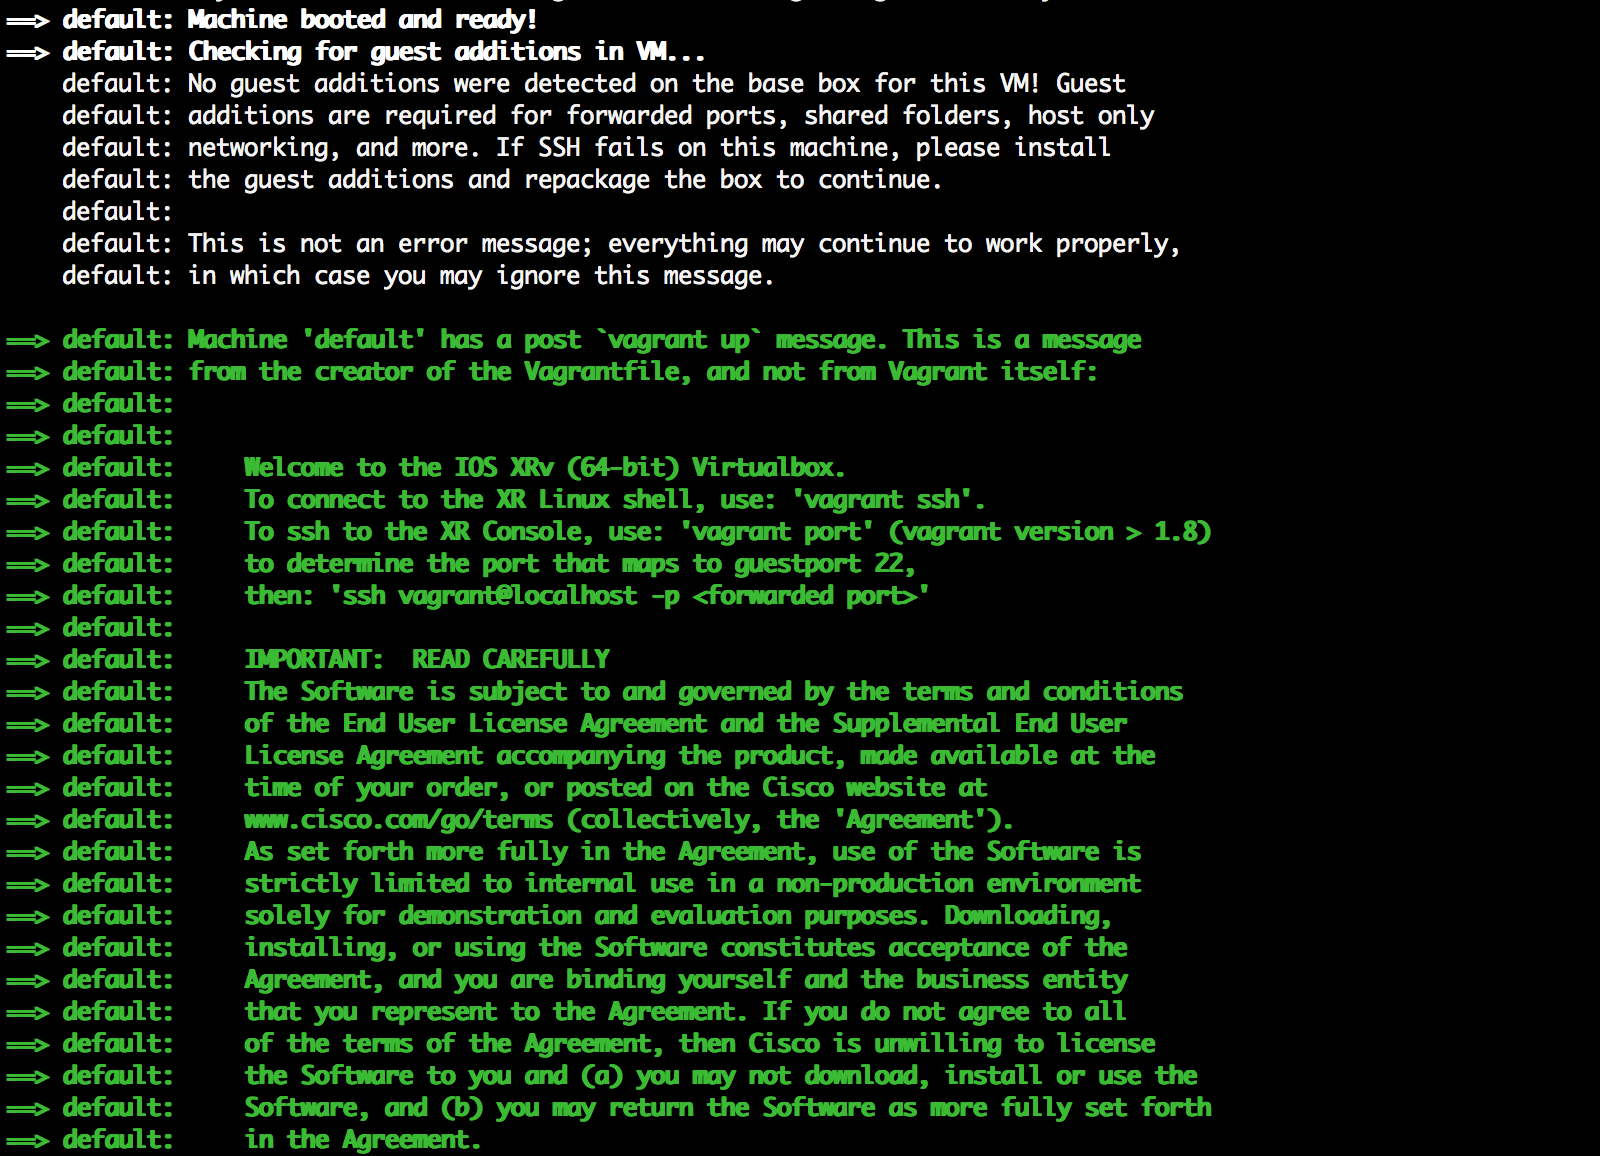
Look for the green “vagrant up” welcome message to confirm the machine has booted:
Now we have two options to access the Vagrant instance:
Access the XR Linux shell
Vagrant takes care of key exchange automatically. We’ve set things up to make sure that the XR linux shell (running SSH on port 57722) is the environment a user gets dropped into when using vagrant ssh
AKSHSHAR-M-K0DS:simple-mixed-topo akshshar$ vagrant ssh
xr-vm_node0_RP0_CPU0:~$
xr-vm_node0_RP0_CPU0:~$
xr-vm_node0_RP0_CPU0:~$
The reason we select the XR linux shell as the default environment and not XR CLI, should be obvious to seasoned users of Vagrant. In the future,Vagrantfiles that integrate chef/puppet/Ansible/Shell as Vagrant provisioners would benefit from linux as the default environment.
Access XR Console
XR SSH runs on port 22 of the guest IOS-XR instance.
First, determine the port to which the XR SSH port (port 22) is forwarded by vagrant by using the vagrant port command:
AKSHSHAR-M-K0DS:simple-mixed-topo akshshar$  vagrant port
The forwarded ports for the machine are listed below. Please note that
these values may differ from values configured in the Vagrantfile if the
provider supports automatic port collision detection and resolution.

    22 (guest) => 2223 (host)
 57722 (guest) => 2222 (host)
As shown above, port 22 of XR is fowarded to port 2223:
Use port 2223 to now ssh into XR CLI
The password is “vagrant”
AKSHSHAR-M-K0DS:simple-mixed-topo akshshar$ ssh -p 2223 vagrant@localhost
The authenticity of host '[localhost]:2223 ([127.0.0.1]:2223)' can't be established.
RSA key fingerprint is 65:d1:b8:f6:68:9c:04:a2:d5:db:17:d8:de:04:cb:22.
Are you sure you want to continue connecting (yes/no)? yes
Warning: Permanently added '[localhost]:2223' (RSA) to the list of known hosts.
vagrant@localhost's password:


RP/0/RP0/CPU0:ios#
RP/0/RP0/CPU0:ios#
RP/0/RP0/CPU0:ios#
Multi Node Bringup
Bear in mind the RAM and CPU resource requirements per IOS-XR vagrant instance before you proceed with this section. A 3 node topology as shown below will require 8-9G RAM and can be shared on a 4-core CPU with your laptop’s OS.
Let’s try to bring up a multi-node topology as shown below: 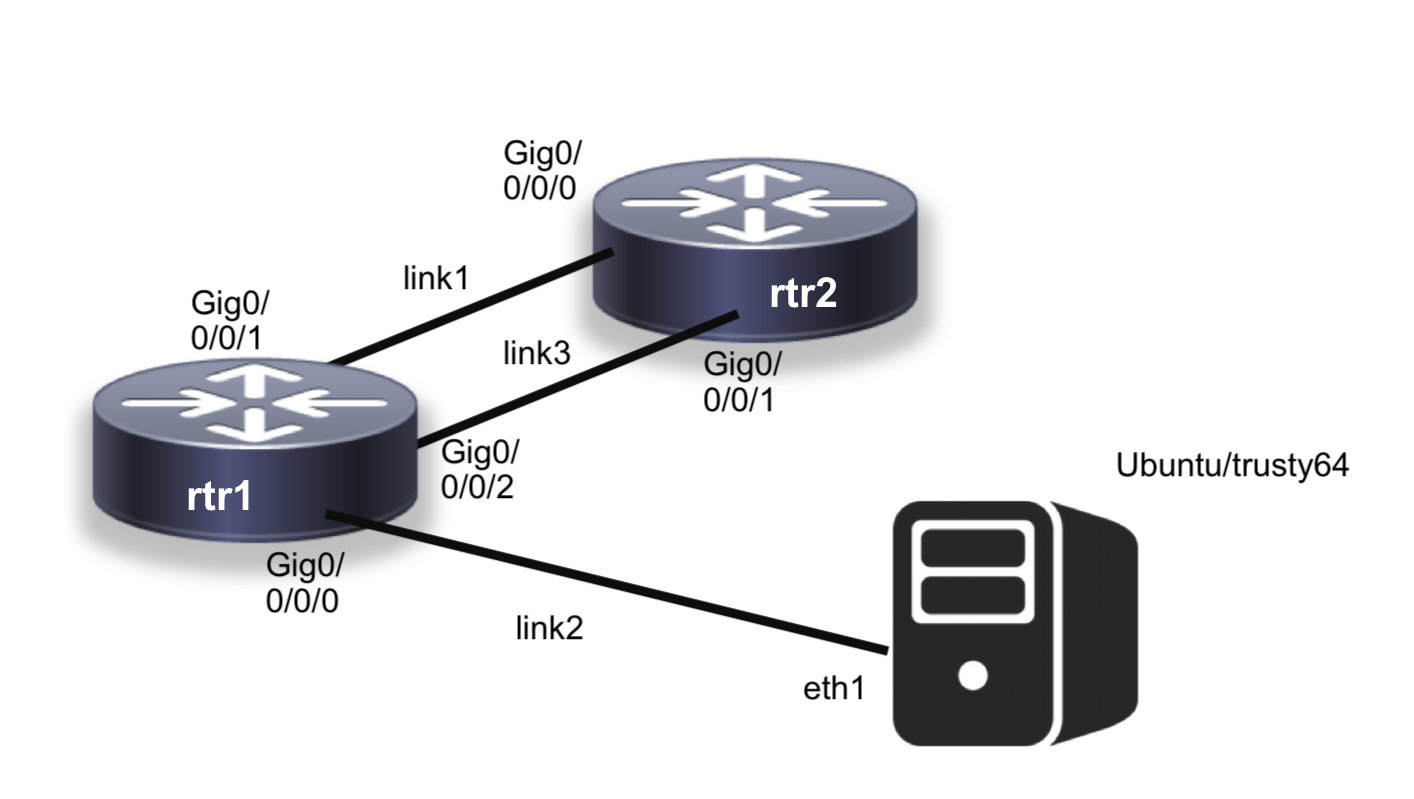
Set up the Vagrantfile
For this purpose, Let’s use a Sample vagrantfile located here:
https://github.com/ios-xr/vagrant-xrdocs/blob/master/simple-mixed-topo/Vagrantfile
git clone https://github.com/ios-xr/vagrant-xrdocs.git
cd vagrant-xrdocs/simple-mixed-topo
Shown below is a snippet of the Vagrantfile:
Vagrant.configure(2) do |config|

    config.vm.define "rtr1" do |node|
      node.vm.box =  "IOS-XRv"

      # gig0/0/0/0 connected to link2,
      # gig0/0/0/1 connected to link1,
      # gig0/0/0/2 connected to link3,
      # auto-config not supported.

      node.vm.network :private_network, virtualbox__intnet: "link2", auto_config: false
      node.vm.network :private_network, virtualbox__intnet: "link1", auto_config: false
      node.vm.network :private_network, virtualbox__intnet: "link3", auto_config: false

    end

    config.vm.define "rtr2" do |node|
      node.vm.box =  "IOS-XRv"

      # gig0/0/0/0 connected to link1,
      # gig0/0/0/1 connected to link3,
      # auto-config not supported

      node.vm.network :private_network, virtualbox__intnet: "link1", auto_config: false
      node.vm.network :private_network, virtualbox__intnet: "link3", auto_config: false

    end
If you compare this with the topology above it becomes pretty clear how the interfaces of the XR instances are mapped to individual links.
The order of the “private_networks” is important.
For each XR node, the first “private_network” corresponds to gig0/0/0/0, the second “private_network” to gig0/0/0/1 and so on.
Bring up the topology
As before, we’ll issue a vagrant up to bring up the topology.
vagrant up
This will take some time, possibly over 10 minutes.
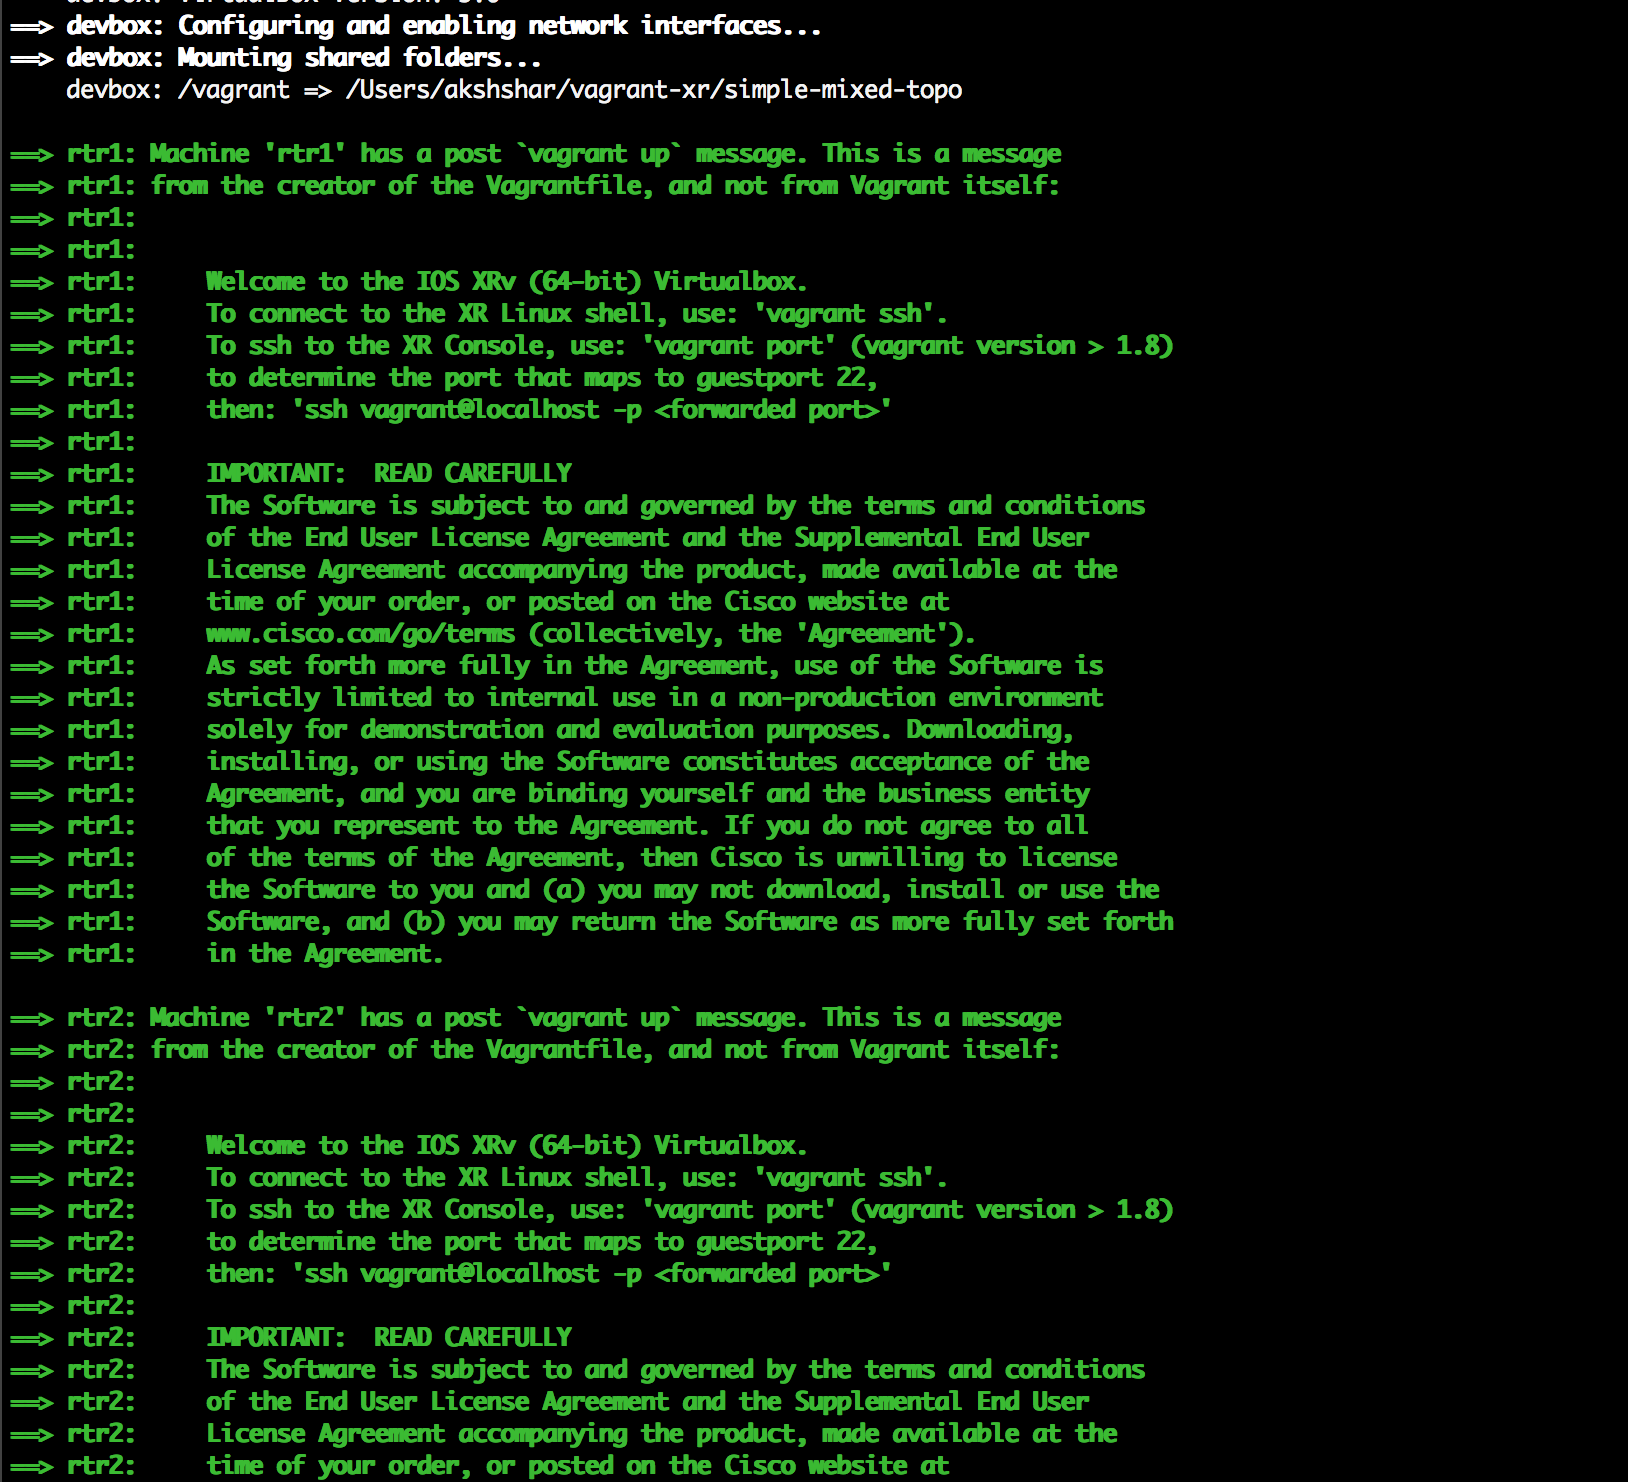
Look for the green “vagrant up” welcome message to confirm the three machines have booted:
Access the nodes
The only point to remember is that in a multinode setup, we “name” each node in the topology.
For example, let’s access “rtr2”
- Access the XR Linux shell:
AKSHSHAR-M-K0DS:simple-mixed-topo akshshar$ vagrant ssh rtr2
Last login: Tue May 31 05:43:44 2016 from 10.0.2.2
xr-vm_node0_RP0_CPU0:~$
xr-vm_node0_RP0_CPU0:~$
- Access XR Console:
Determine the forwarded port for port 22 (XR SSH) for rtr2:
AKSHSHAR-M-K0DS:simple-mixed-topo akshshar$ vagrant port rtr2
The forwarded ports for the machine are listed below. Please note that
these values may differ from values configured in the Vagrantfile if the
provider supports automatic port collision detection and resolution.

    22 (guest) => 2201 (host)
 57722 (guest) => 2200 (host)
AKSHSHAR-M-K0DS:simple-mixed-topo akshshar$
For rtr2 port 22, the forwarded port is 2201. So, to get into the XR CLI of rtr2, we use:
AKSHSHAR-M-K0DS:simple-mixed-topo akshshar$ ssh -p 2201 vagrant@localhost
The authenticity of host '[localhost]:2201 ([127.0.0.1]:2201)' can't be established.
RSA key fingerprint is 65:d1:b8:f6:68:9c:04:a2:d5:db:17:d8:de:04:cb:22.
Are you sure you want to continue connecting (yes/no)? yes
Warning: Permanently added '[localhost]:2201' (RSA) to the list of known hosts.
vagrant@localhost's password:


RP/0/RP0/CPU0:ios#
RP/0/RP0/CPU0:ios#
That’s it for the quick-start guide on XR vagrant. Launch your very own XR instance using vagrant and let us know your feedback in the comments below!
Head over to Part 2 of the XR Toolbox series where we look at bootstrapping a Vagrant XR instance with a user-defined configuration on boot —> Bootstrap XR configuration with Vagrant.
Leave a Comment