
@xrdocs How-To
Introduction to @xrdocs
Welcome to @xrdocs!
This tutorial is meant to get a new blogger/technical-writer, unfamiliar with @xrdocs, up and running in minutes.
Cisco IOS-XR 6.0+ brings with it some key operational enhancements in the domains of monitoring, automation, application-hosting and software management. However, these enhancements require the right tools to aid their consumption.
In our minds, at a macro level we can classify the tools into two types:
- User end tools/applications: eg. YDK-py, Streaming Telemetry plugins for ELK/Prometheus/SignalFX, support for Config-management tools like Ansible, Puppet and Chef, YUM repositories for WRL7 apps etc.
- Documentation: Regular Blogs, Step-by-step tutorials and detailed technical documents have to accompany tools. There is probably nothing more infuriating than a badly documented piece of code/tool/feature.
@xrdocs has been designed to address these documentation concerns.
- We needed a platform to quickly churn out relevant documentation and make sure it remains up-to-date with all the changes coming up in IOS-XR.
- We wanted to peer-review our documentation, raise bugs against it and give control directly to the technical writers. In short, we wanted to treat documentation like code.
The choice was simple: If you’ve followed the tremendous success of github-pages ever since its inception, it would be clear that using github as a platform to host and edit our documentation-as-code, was the way to go.
So here we are, @xrdocs is up and running at https://xrdocs.github.io with links to domains of interest.
Woah! but wait. Not everyone is comfortable dealing with code while documenting.
And really? git workflows each time you need to push a document?
Is there an easier way?
Read on.
First Steps
Before we begin, to gain access to the xrdocs-images repository and to have your author profile set up, send an email to the xrdocs-team with the following data:
- Full Name
- Github ID
- attach a bio photo in jpg/jpeg/png format
- twitter handle (optional)
Introducing Prose.io
We’ve completely abstracted the internals of the website running on github-pages using Prose.io Metadata configurations.
Now all you need is:
- A github account. If you don’t have one, get it here: Join Github.
- A relatively new browser (chrome would be recommended). (No IE please!)
- A link explaining markdown syntax if you’ve never used it: Markdown Cheat-Sheet
prose.io is a simple markdown editor that is built with backbone.js and has deep integrations with github.
Advantage?
If all you want to do is create a new document/blog, you don’t need to use git workflows anymore. No more cloning of repos, no more git pull, merge, push to keep your local account up to date. Just open up your the relevant location in prose.io and start writing in markdown.
Authorize Prose.io with your github account
Browse to prose.io and if you’ve never authorized it before, you’ll be presented with the following page:
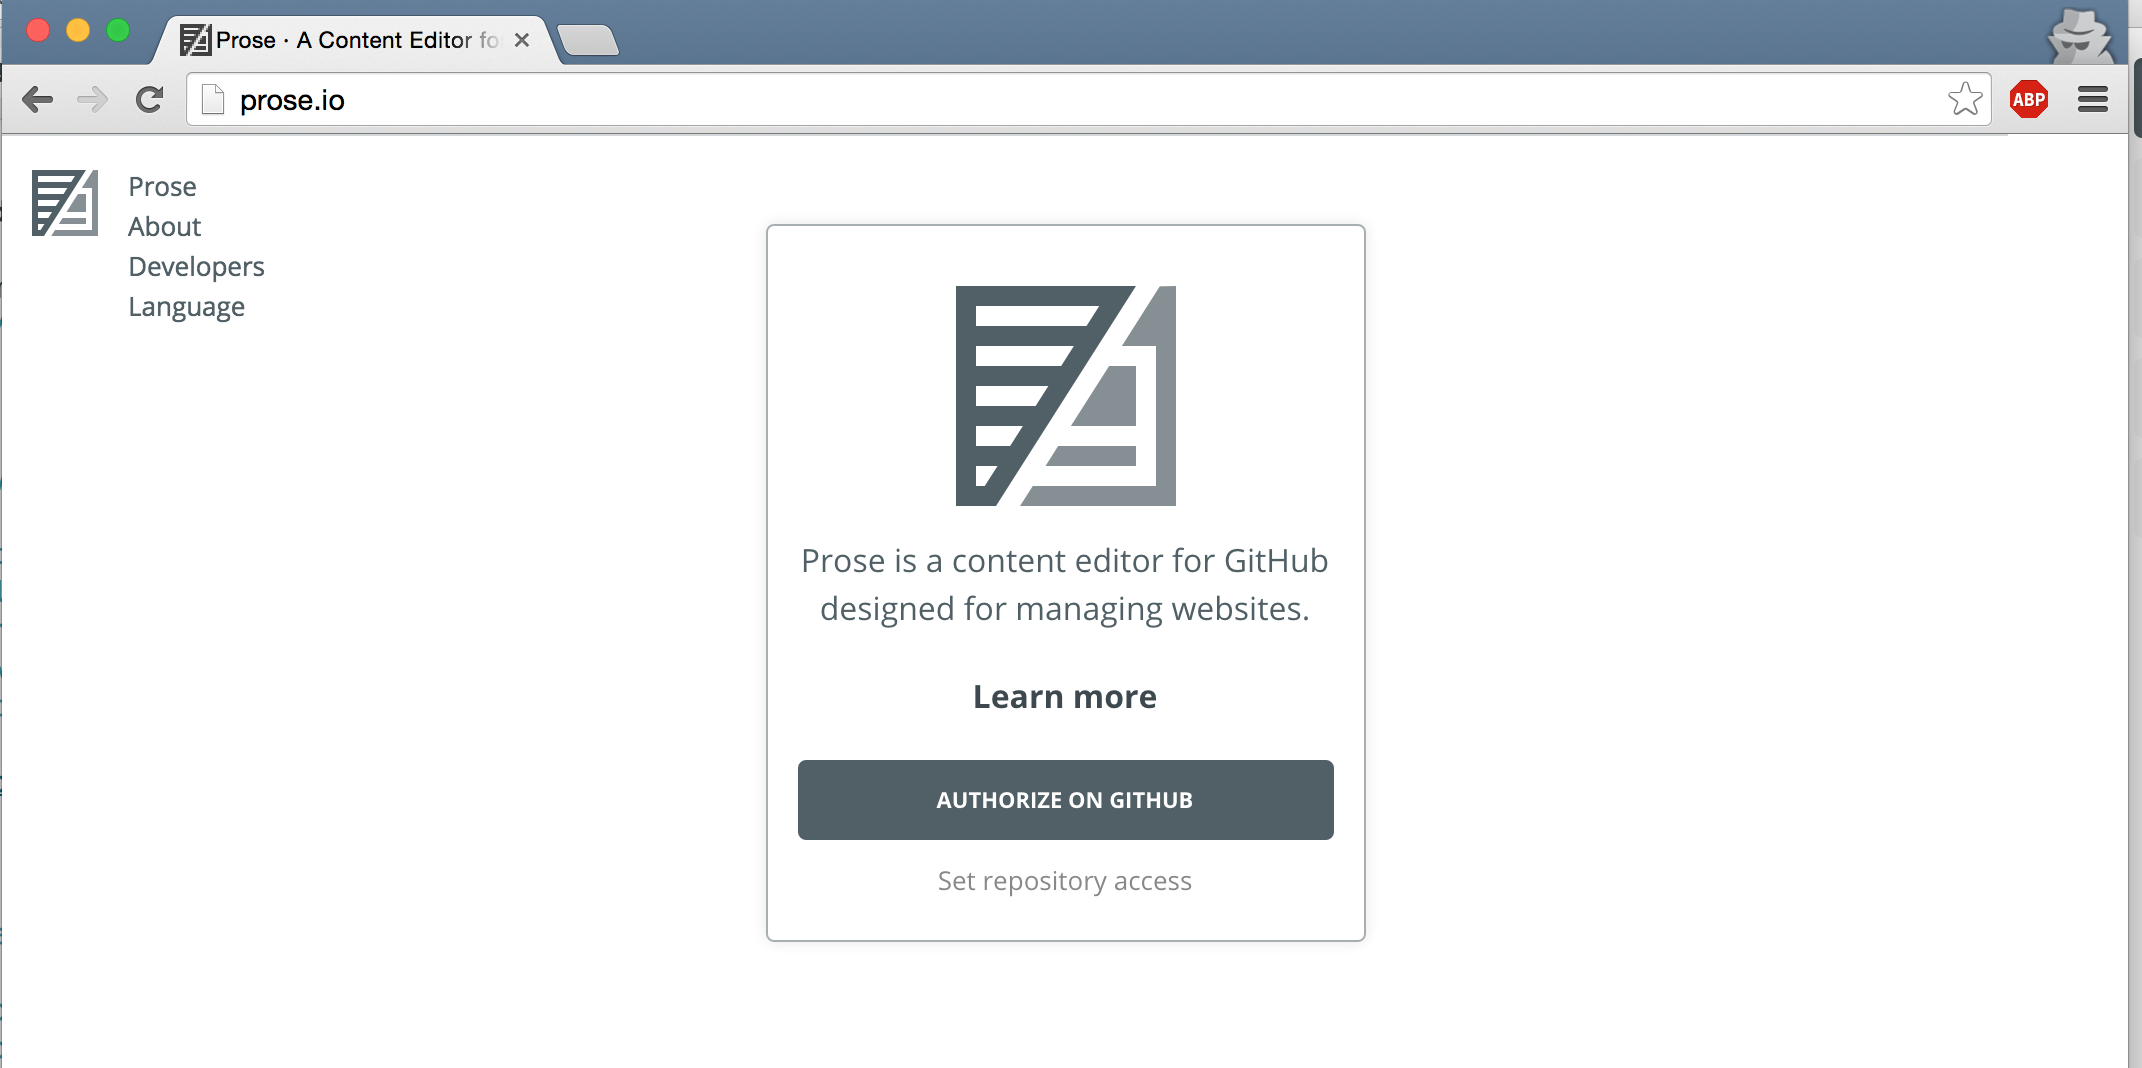 Click on Authorize on Github and you’ll be taken to the Github login screen. When you login, allow prose.io to access your public and private github repos (don’t worry, this is a purely client side js app).
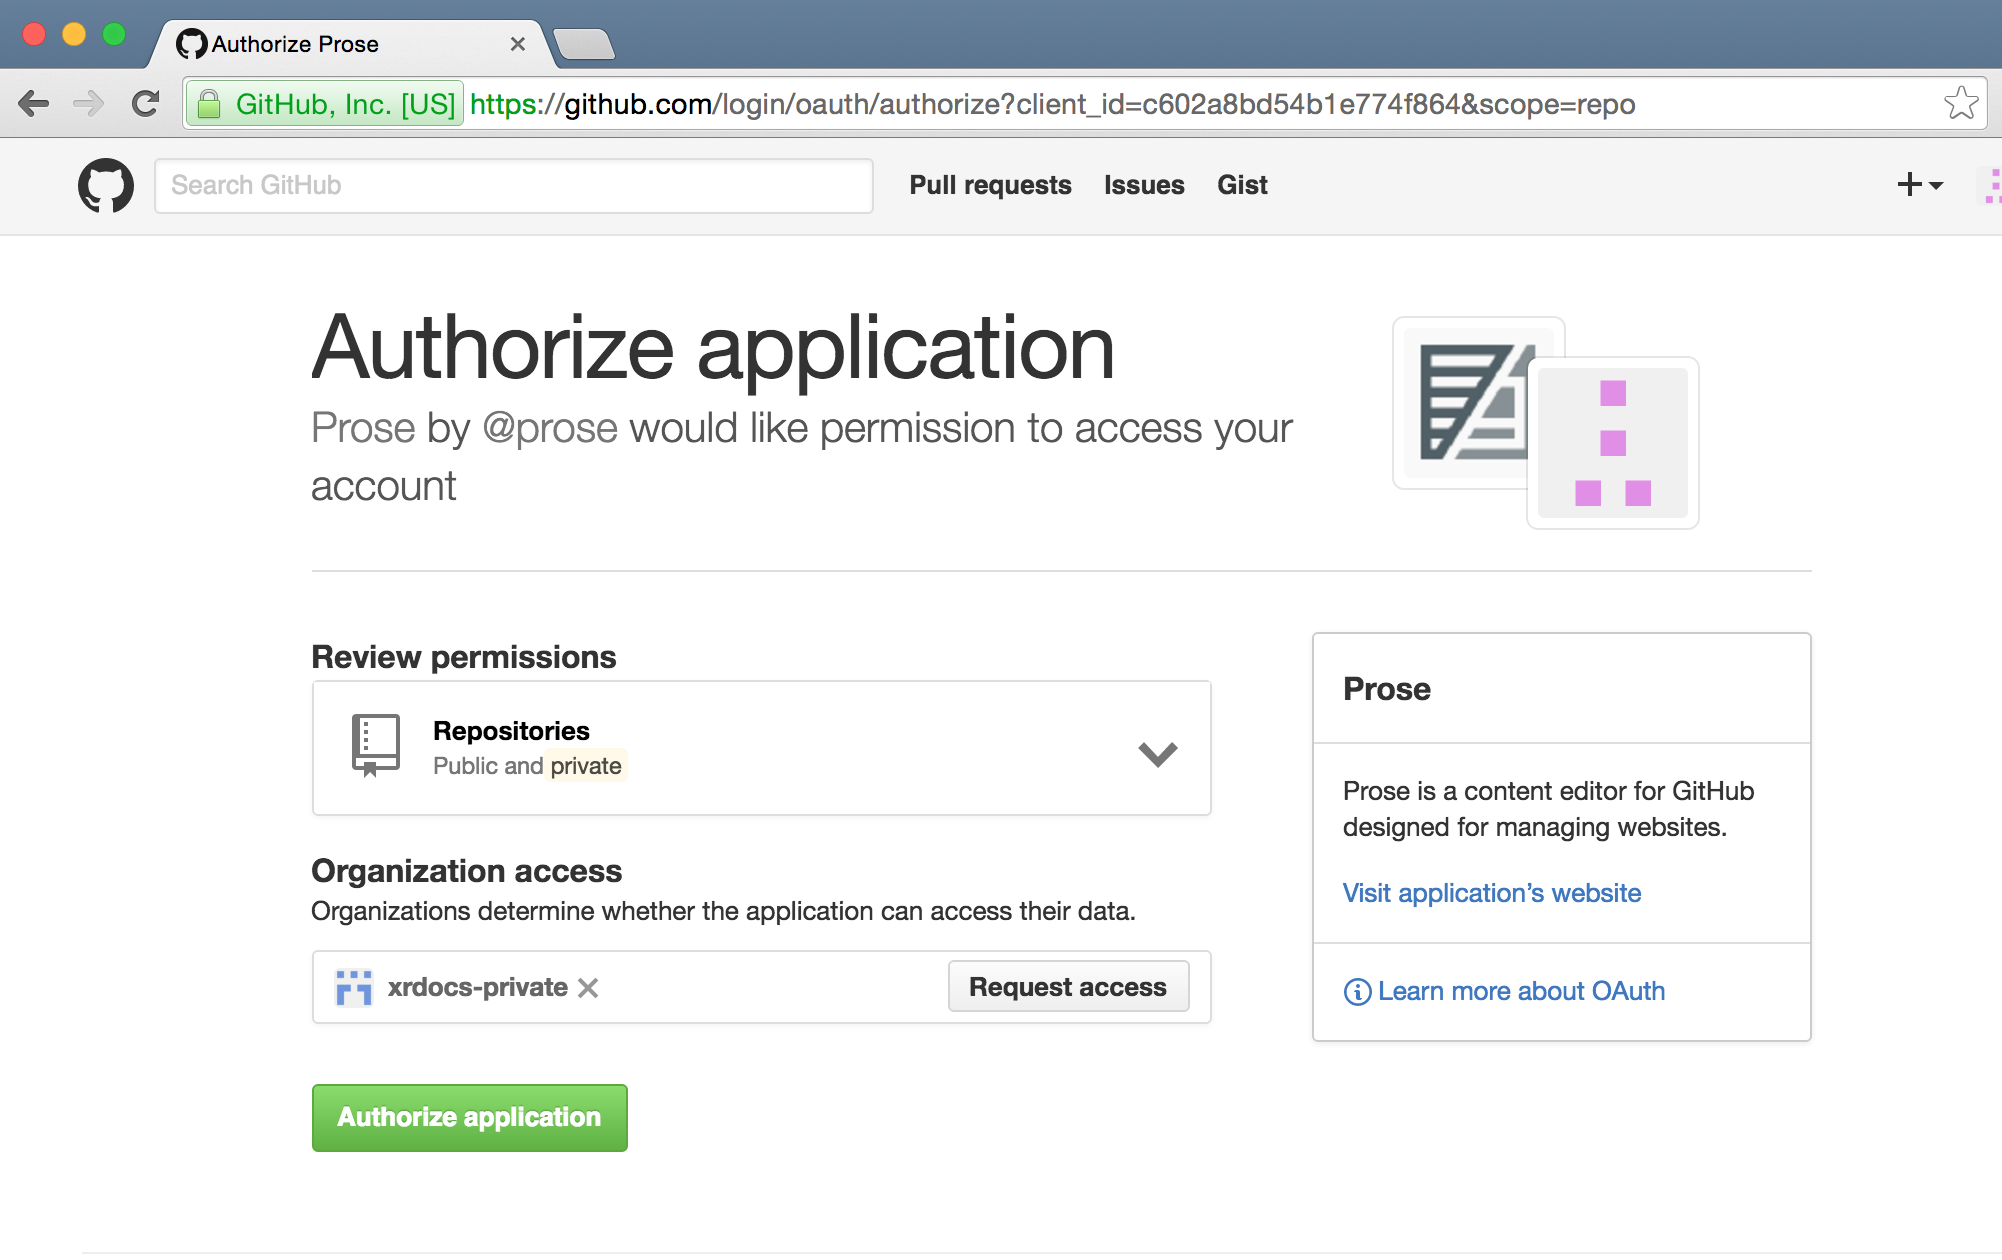 Click on Authorize Application
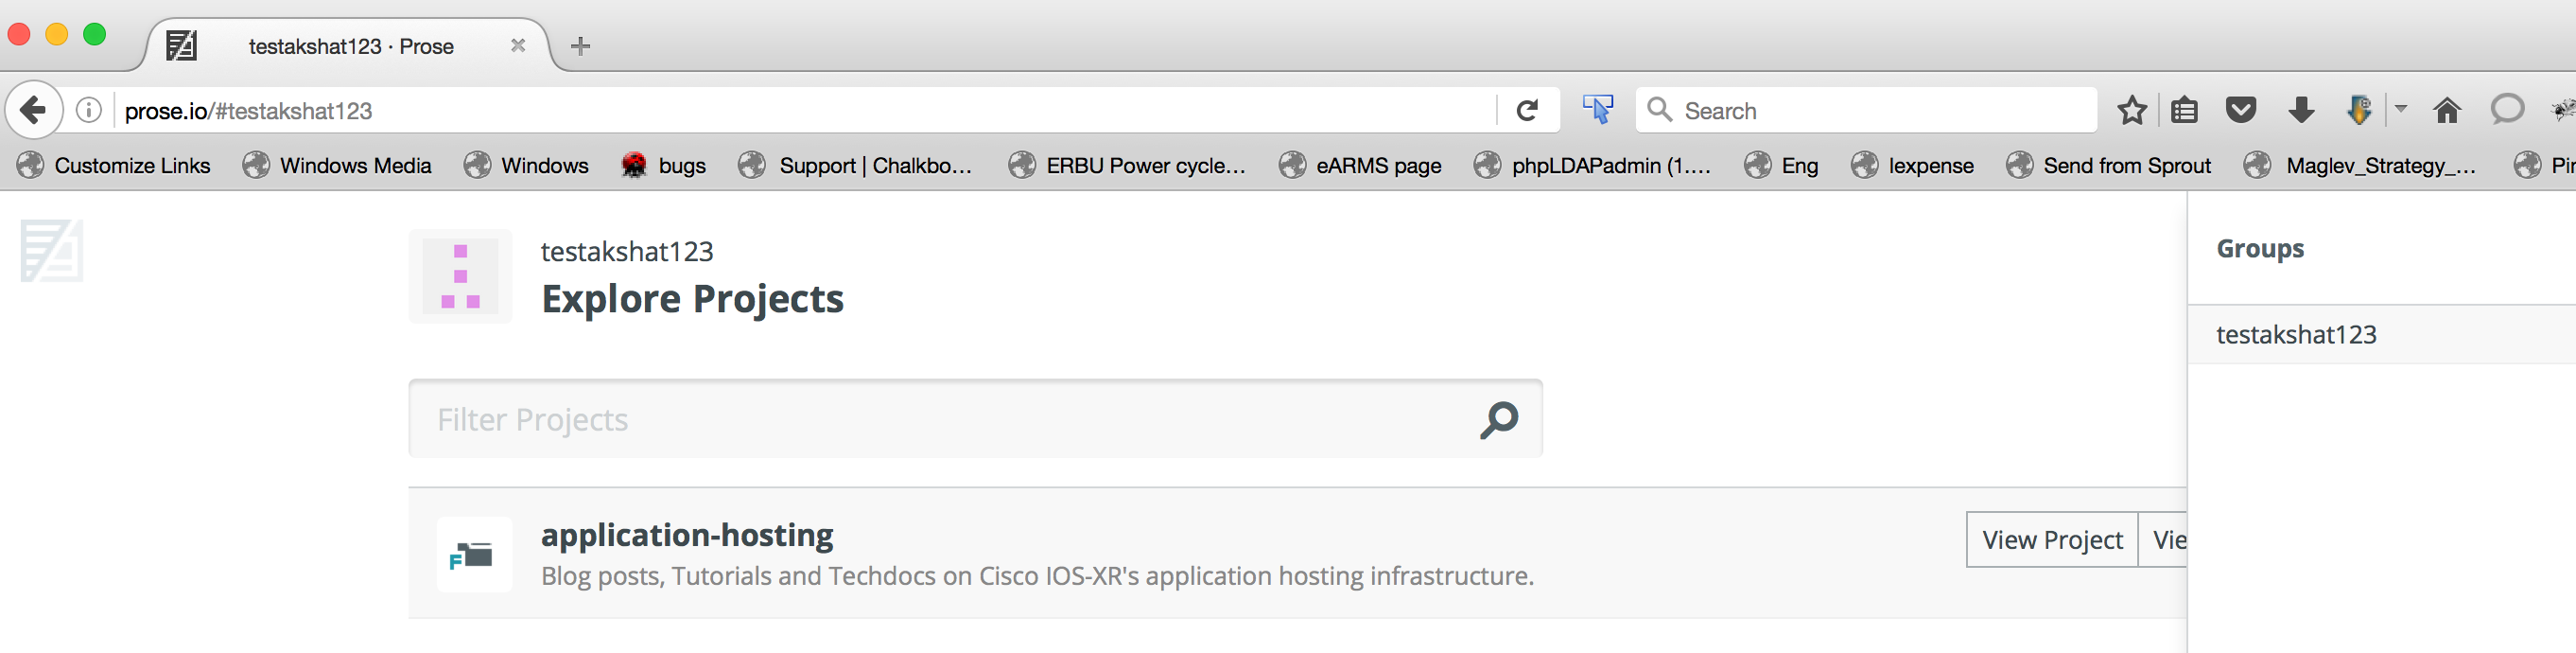
Now the page will automatically redirect to show the home page repositories for the user:
You’re all set! Let’s now start writing a document from scratch.
Document Types on @xrdocs
Before we begin, a quick primer. We classify documentations into 3 primary categories:
- Blogs: These are news updates, architectural musings or upcoming-event updates/links.
- Tutorials: These are quick technical how-to’s that present a technical topic from a “first-time” user’s perspective.
- Techdocs: These are detailed whitepapers that dive into the nitty-gritty of technical topics, cover support requirements, gotchas, different permutations etc.
User types on @xrdocs
There are 2 types of users on @xrdocs
- Owners/contributors of the corresponding github repos (app-hosting, telemetry etc.). The documents created by these users on prose.io directly get committed to the github repos (hence the website), when saved.
- Guest Bloggers: Do NOT have write access to repositories. All their documents created on prose.io appear as pull requests on github, and are subject to a peer review by the owners/contributors before merging with the website.
TMEs in the SP group at Cisco are the only ones with write access to github repositories that host xrdocs content. If you’d like to write a guest article on any of the xrdocs websites please send an email to xrdocs-team with the following data:
- Full Name
- Github ID
- attach a bio photo in jpg/jpeg/png format
- twitter handle (optional)
Writing your first tutorial
Let’s assume you’re a Contributor (have write access to the application-hosting github repo of @xrdocs: @xrdocs/application-hosting
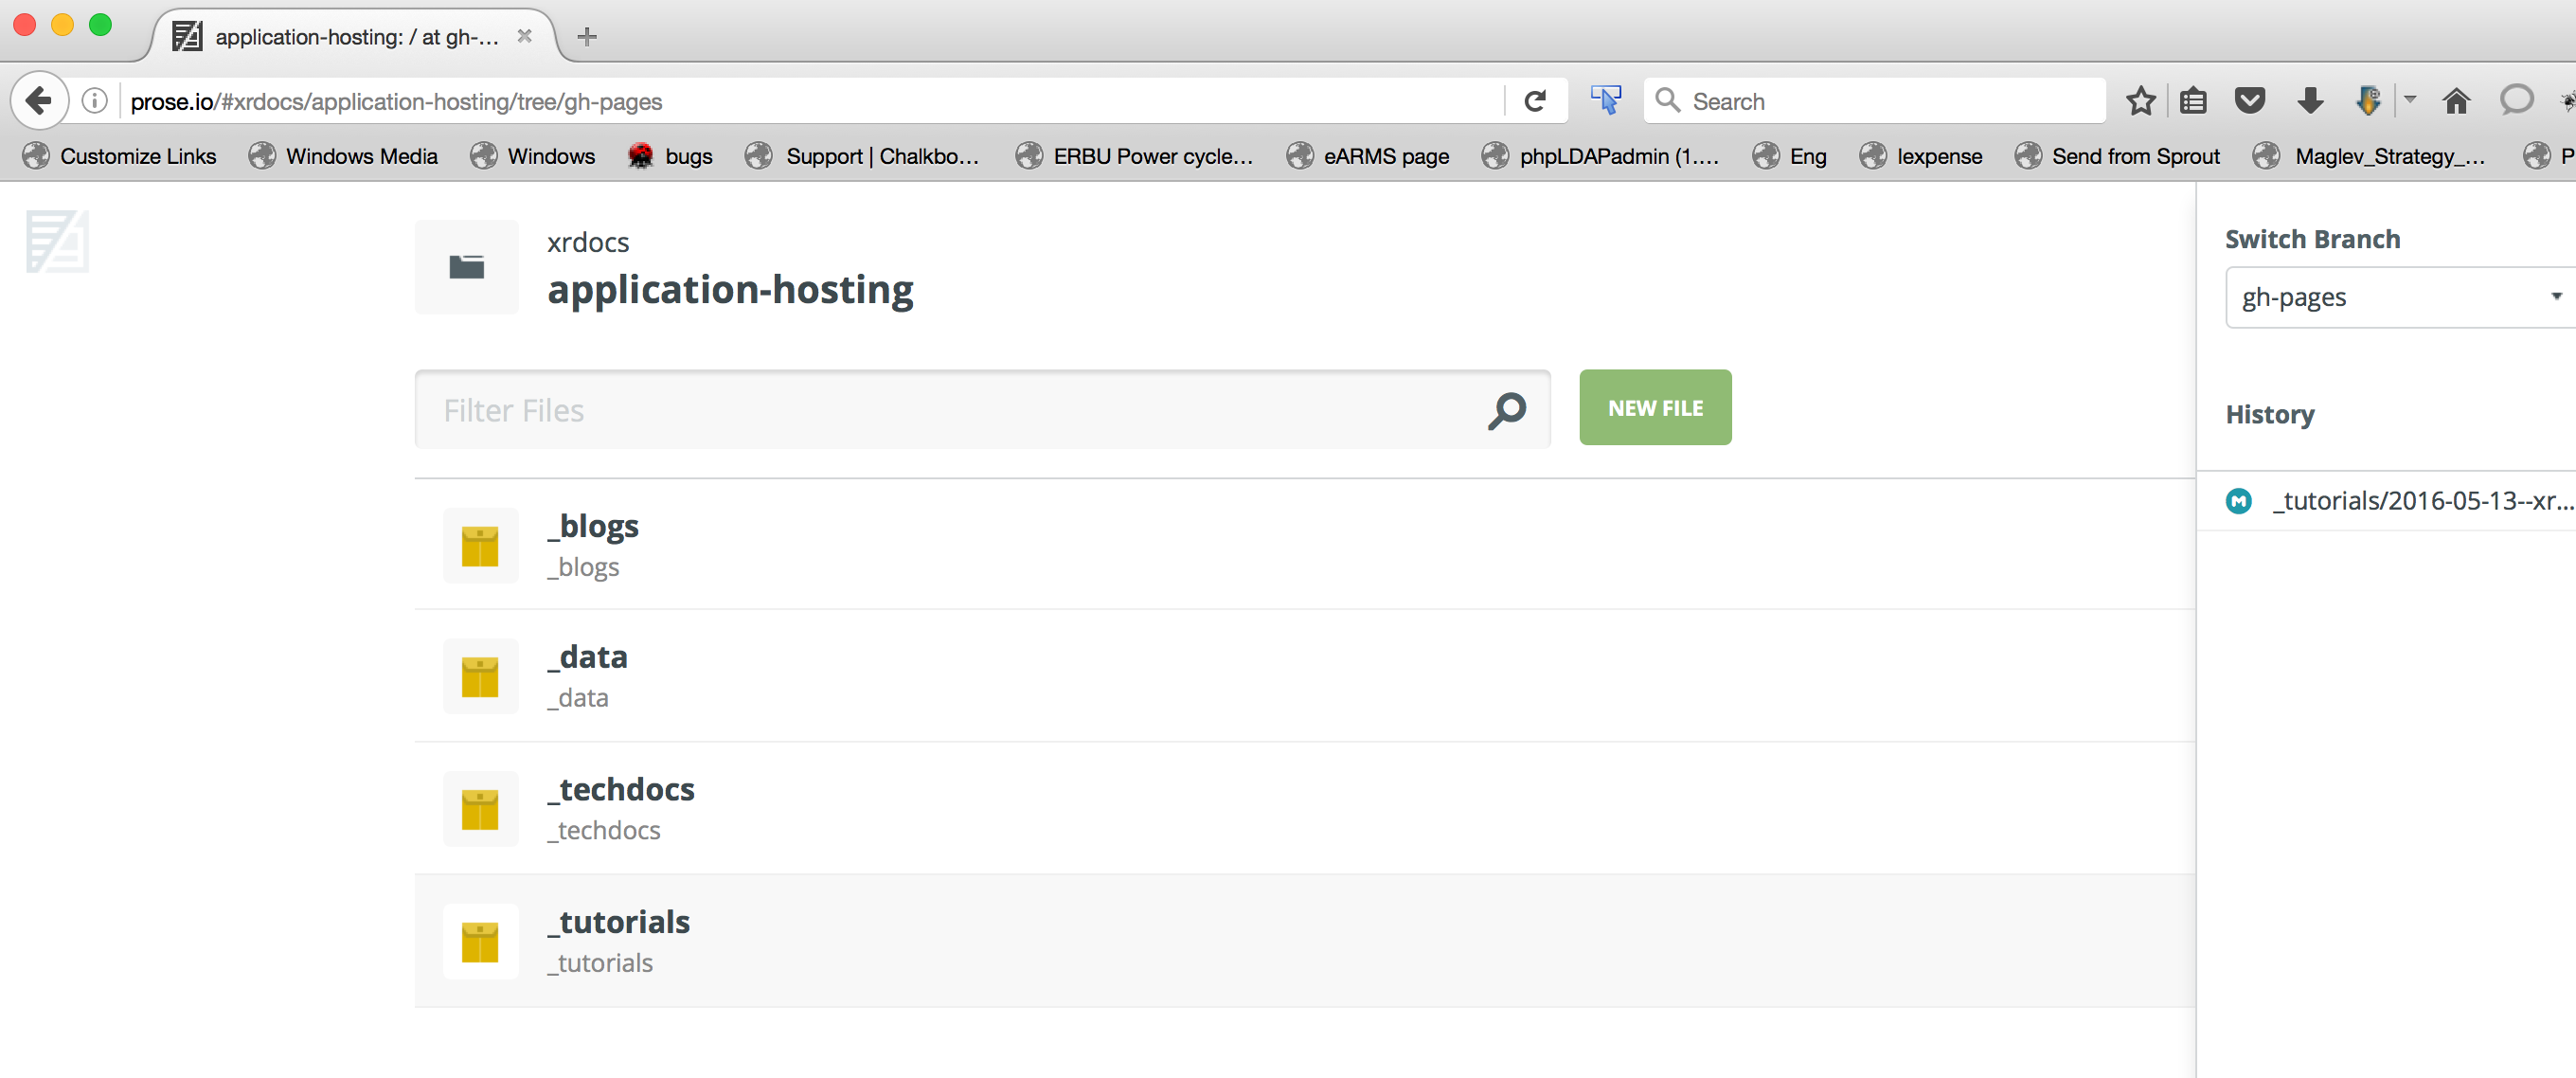
To start writing a tutorial, browse to the application-hosting gh-pages branch on prose.io by using the following link: http://prose.io/#xrdocs/application-hosting/tree/gh-pages
The gh-pages branch is important. The resultant website is rendered on the gh-pages branch of the github repository that hosts the content. But don’t worry! The internal configuration has been set up to ensure that in Prose.io, you will only see the relevant folders when you browse to the gh-pages branch. On the master branch, things will be empty!
 You will be presented with a few set of repositories that you have access to from prose.io:
Click on the Tutorials folder:
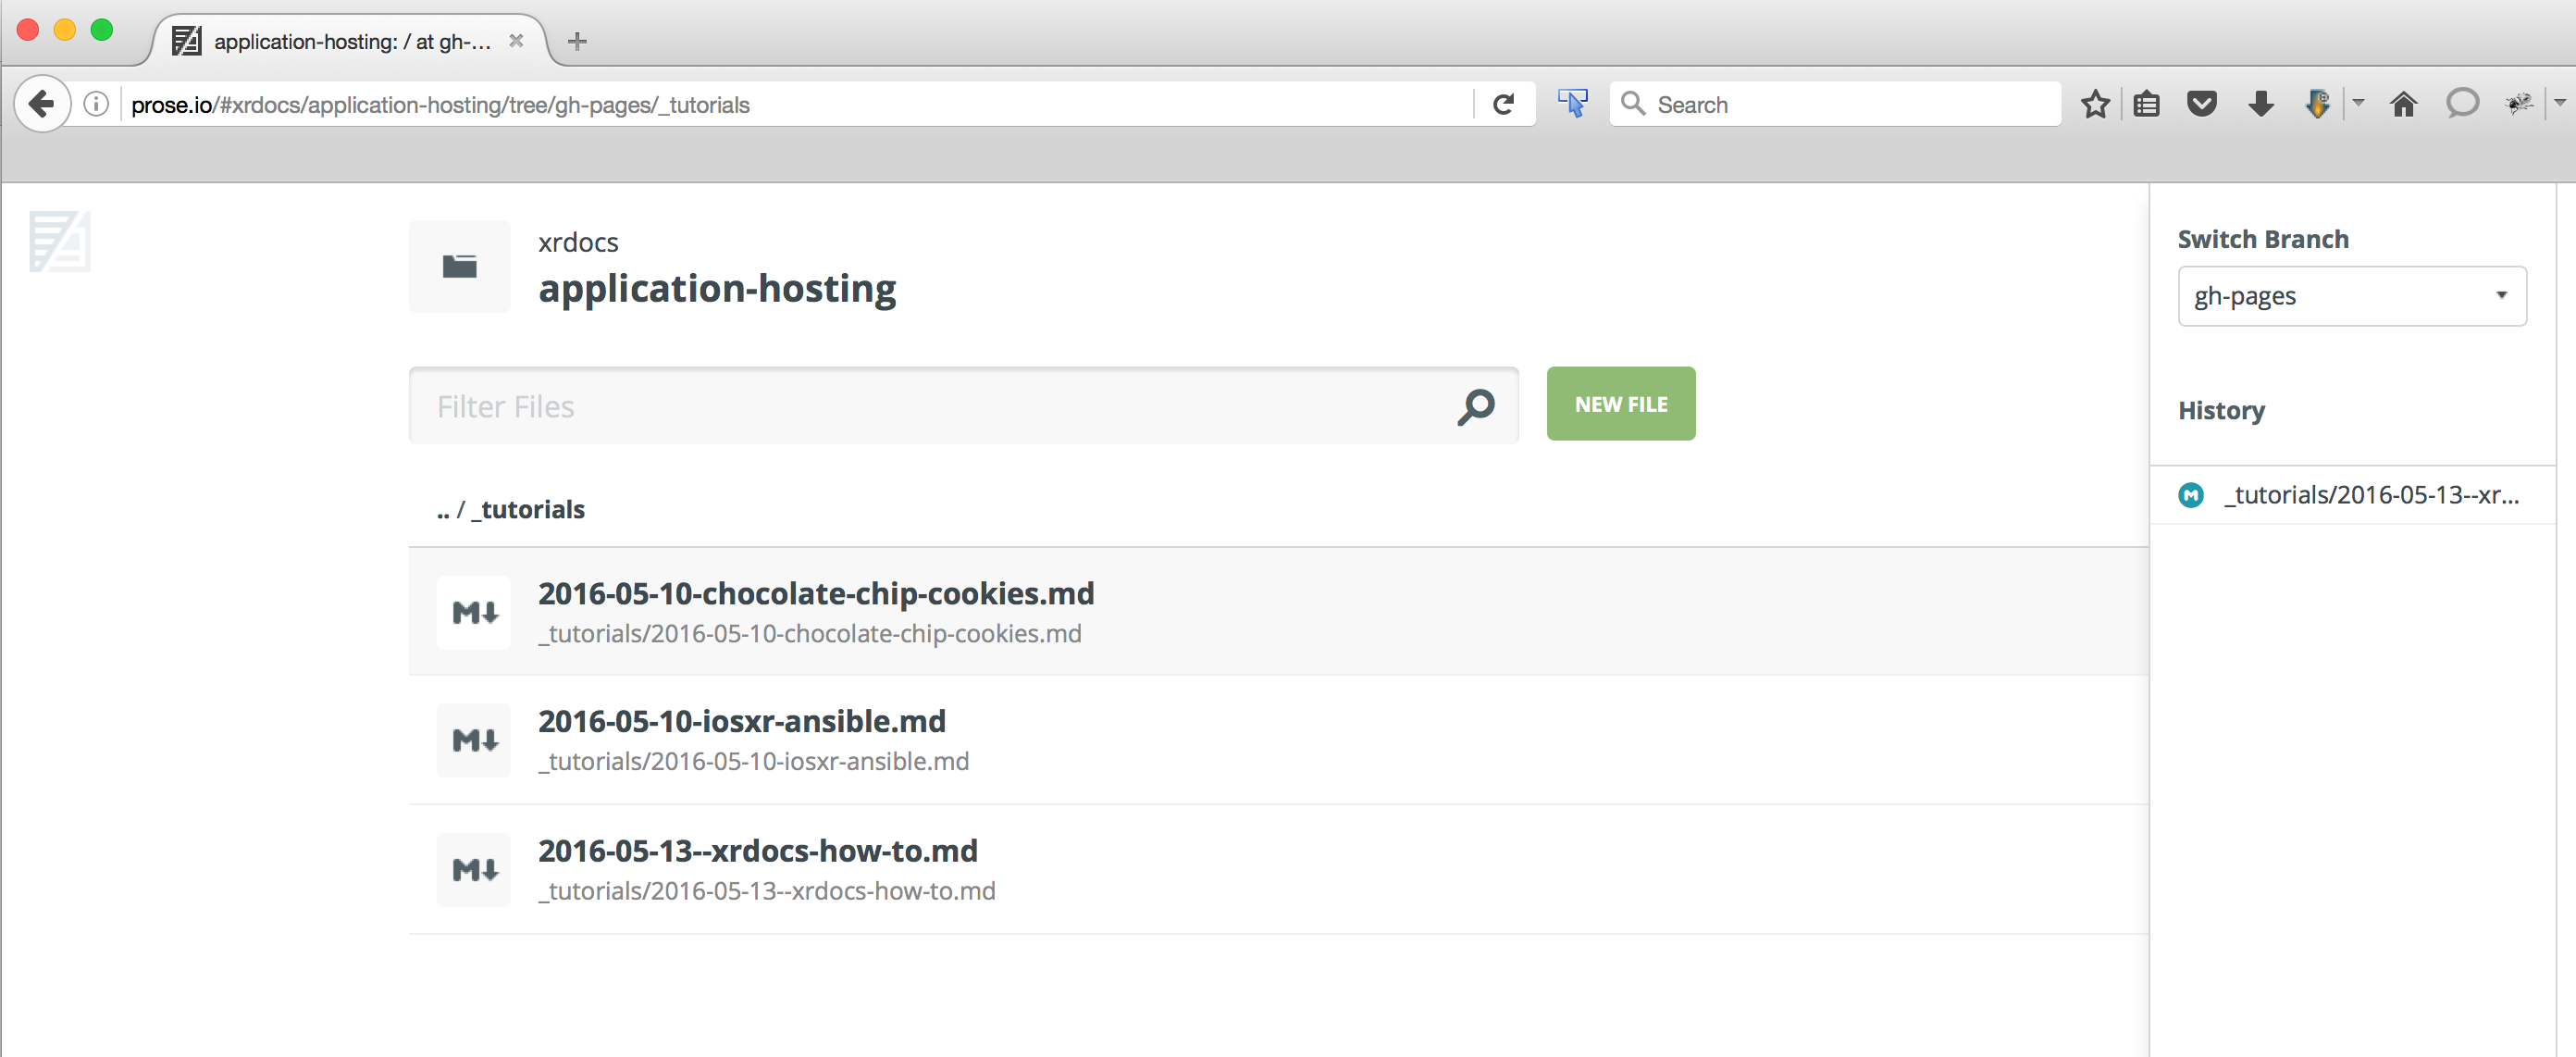
Click on the NEW FILE button.
You will now be presented with a markdown editor to create your document:
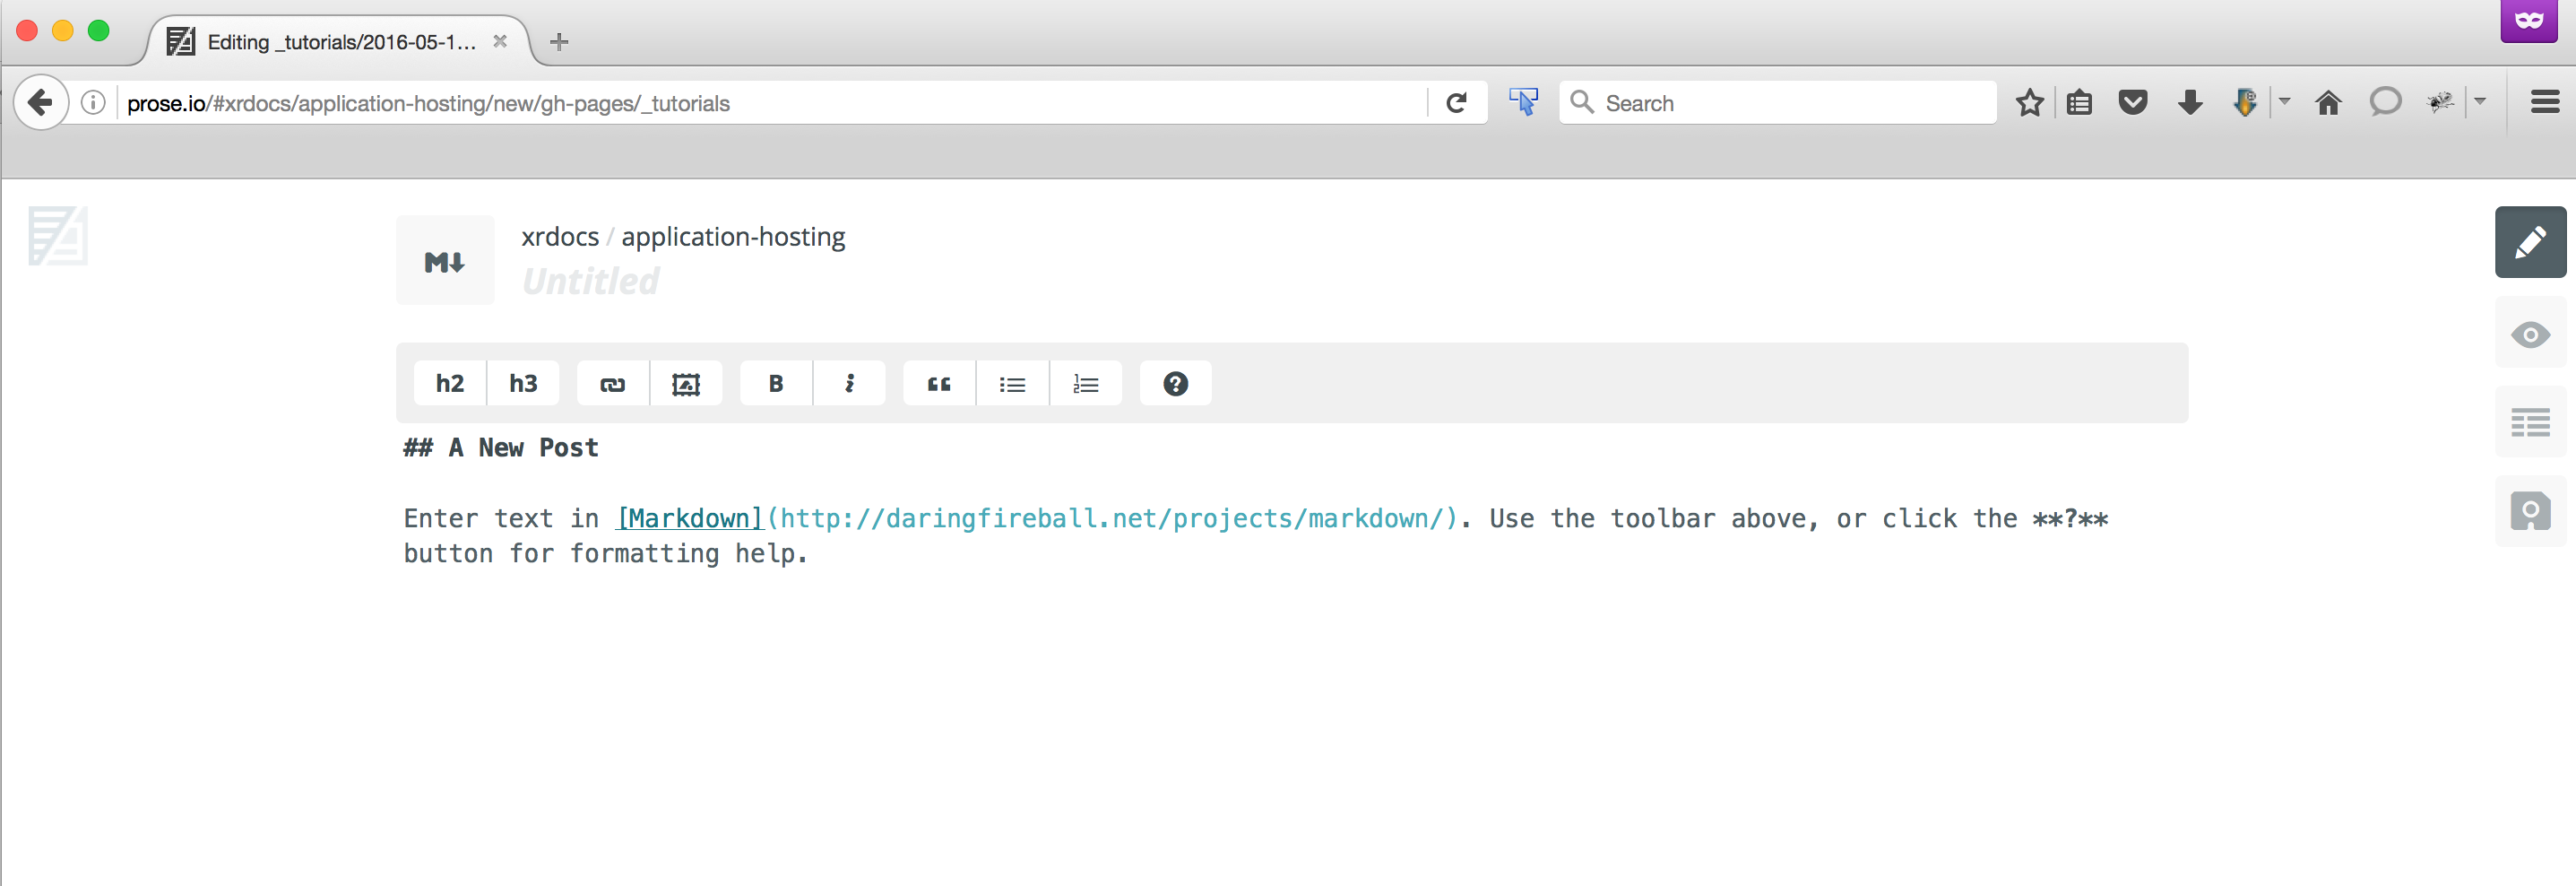
A couple of steps before you start constructing your tutorial in markdown:
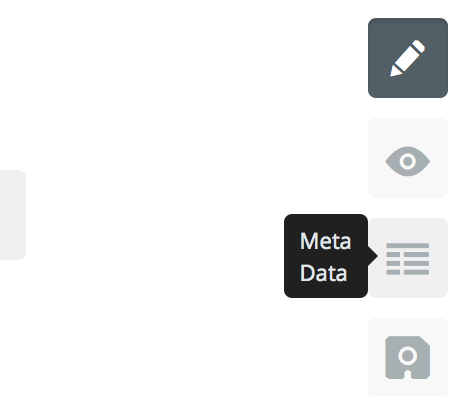
- Give your tutorial a title in the
Untitledfield you’ll see at the top - Now hit the metadata box on the right sidebar as shown below to enter relevant information:
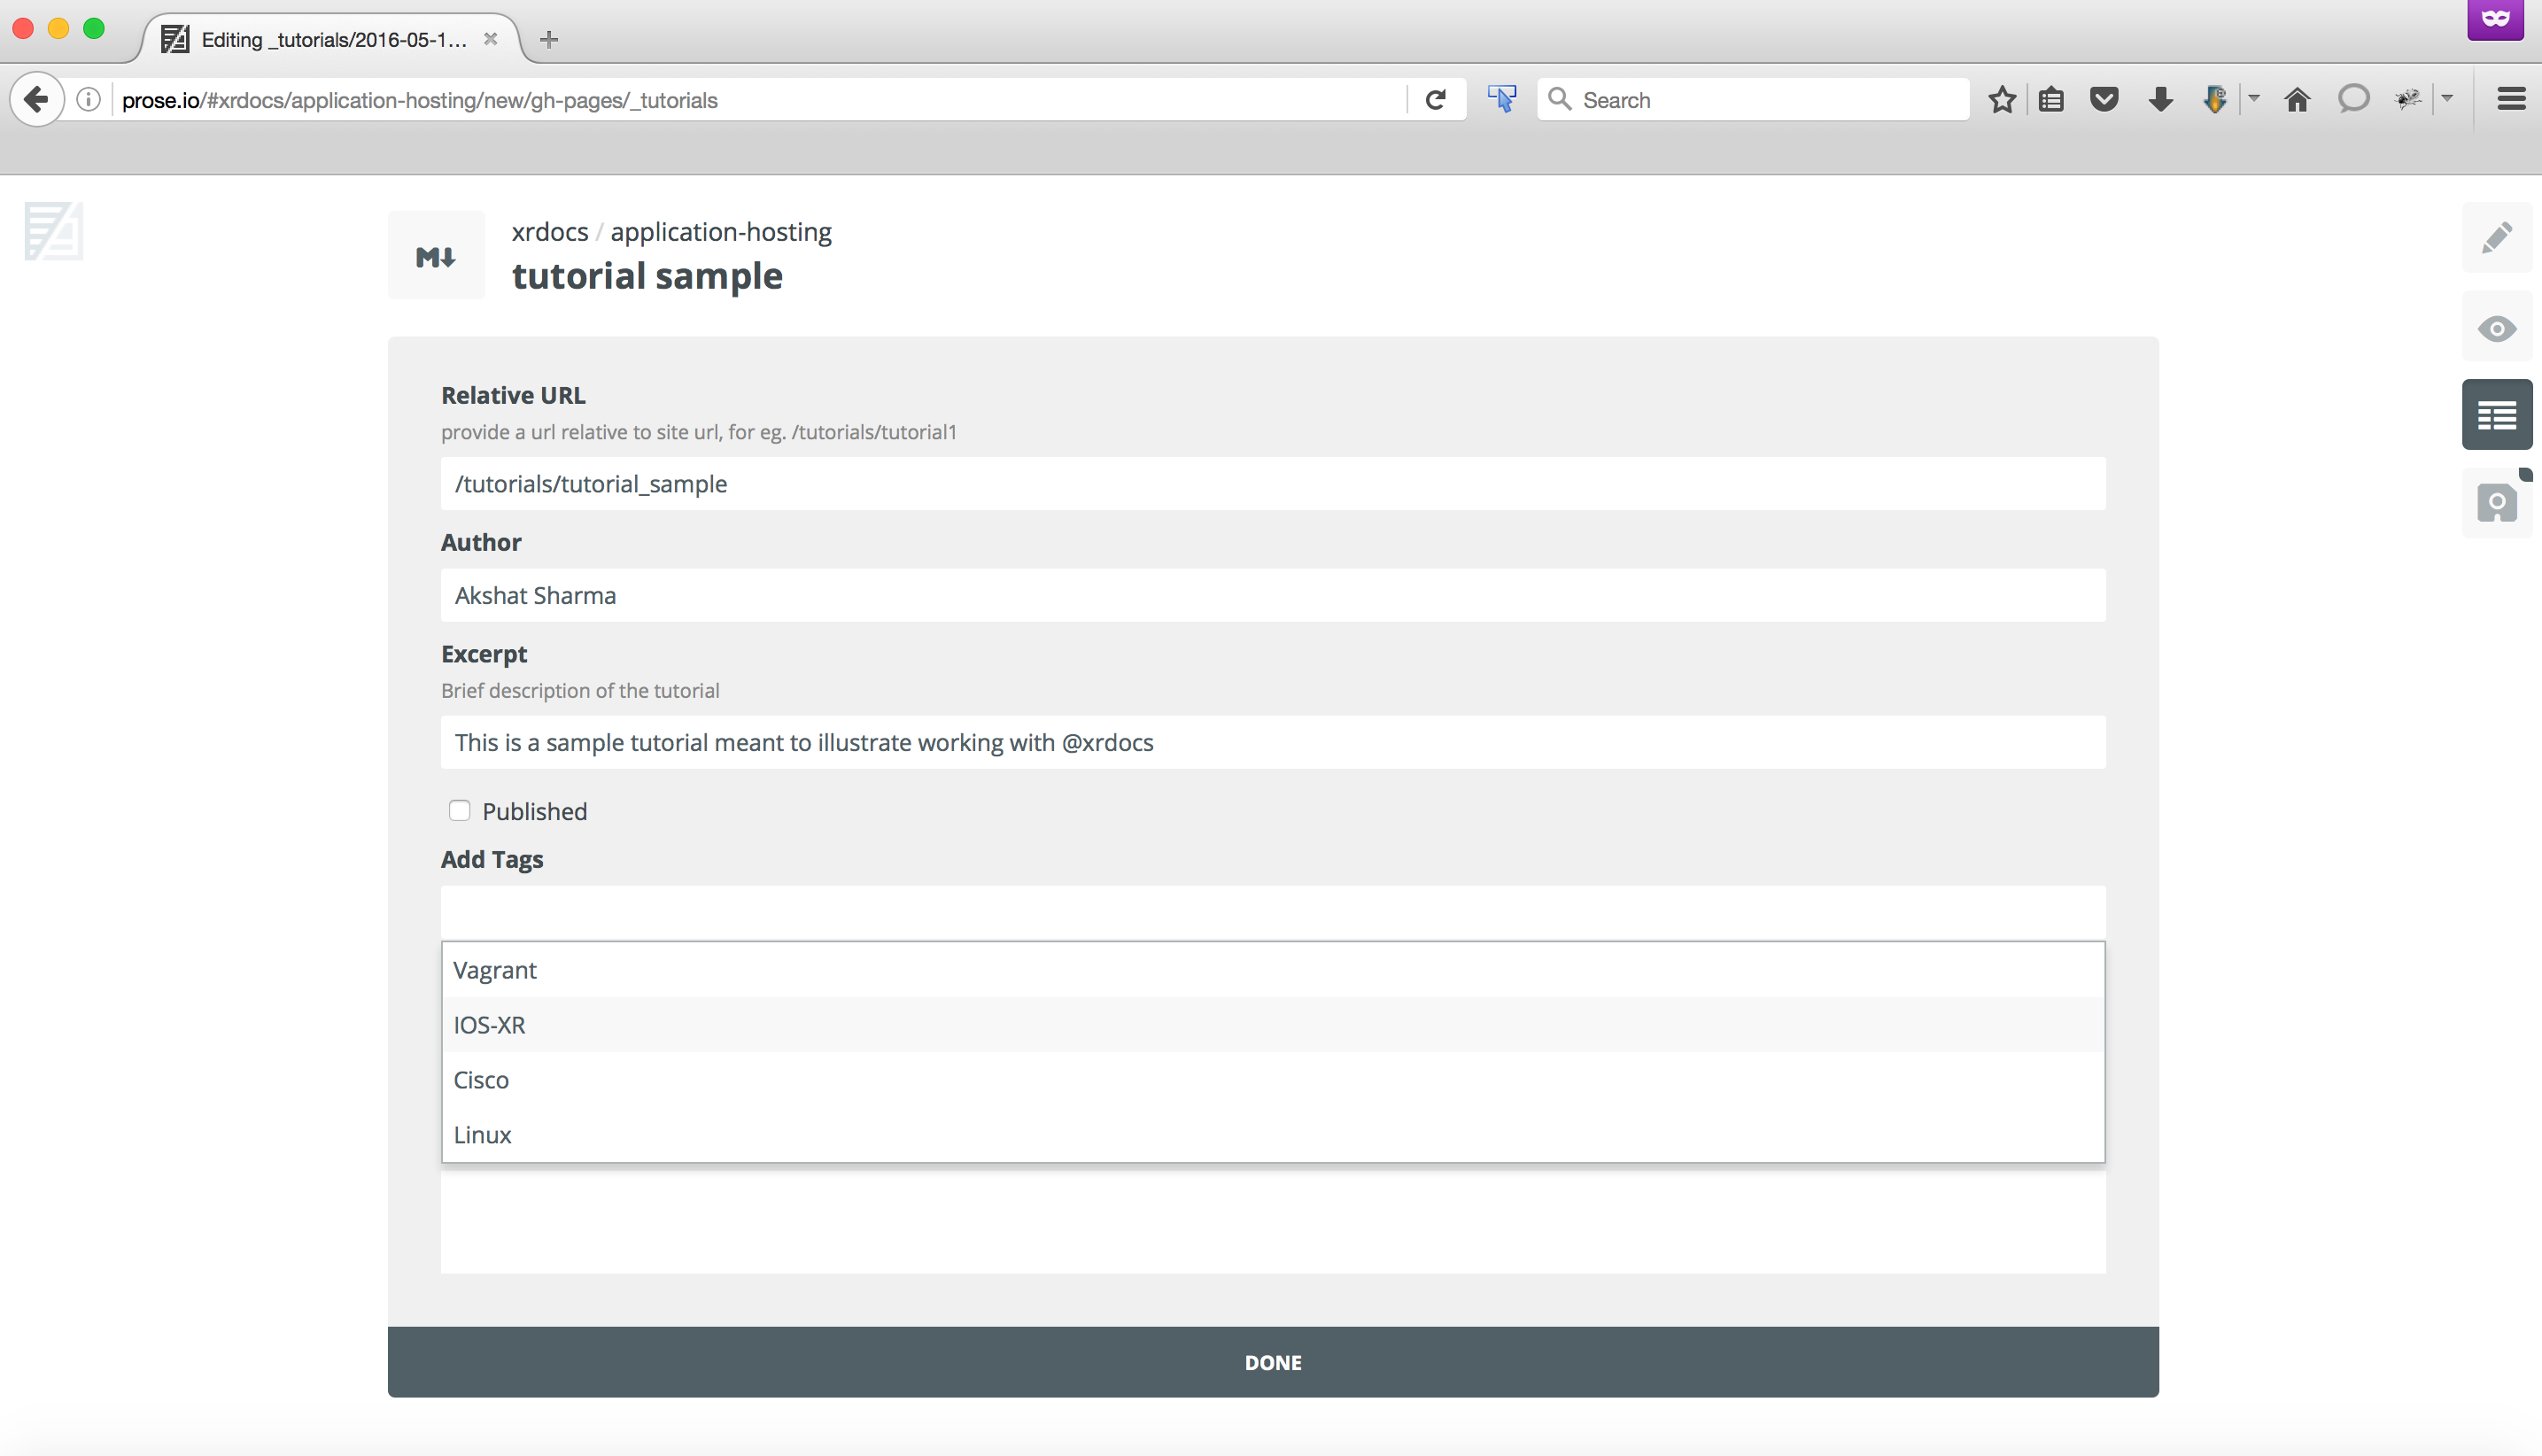
This should pop a set of fields you need to fill out:
The fields are self explanatory, but a quick walkthrough:
- Enter a Relative url to indicate where your tutorial should end up, eg. https://xrdocs.github.io/application-hosting/tutorials/tutorial-sample
- Enter the Author name in full as entered in the database. Read the warning below if you’re not set up as an author for the website
- Provide an excerpt to briefly describe your document
- The published checkbox should be checked if you want your tutorial to show up on the website, upon the next save.
- Use Tags (some pre-populated, you can add more on your own) to give some context to your document and make it searchable.
You’ll need your author name setup in the internal database with a bio photo to make your avatar show up on the side of the website. Send an email to the xrdocs-team with the following data:
- Full Name
- Github ID
- attach a bio photo in jpg/jpeg/png format
- twitter handle (optional)
Explore the sidebar on the right to see what else you can do with the editor.
When you hit the save button (or use Ctrl+S) , the document gets either committed into the github repo (if you’re an owner/contributor) or a pull request is generated if you’re a guest blogger (i.e. do not have write access).
And there you have it, your tutorial should be up on the website in 10-30 seconds (Try a Ctrl+shift+r to clear your cache when you refresh) !
Writing your First Blog
The workflow for a new blog is almost identical to a tutorial. If you’ve reached here and understand how to use prose.io to publish a tutorial, then the “diff” is essentially:
- Make sure when you navigate to the main gh-pages home-page for the repo in question, on prose.io, you select the _blogs folder in the list:
Fill out the metadata fields with the Relative URL field in the form:
/blogs/<blog-name>Now enter your Markdown content and hit Save (or Ctrl+S)!
Your blog should be live in 10-30 seconds or post-merge by an owner if you’re a Guest blogger.
Adding images to your markdown content
Images are necessary to illustrate your point clearly and @xrdocs has been set up to make this process simple for owner/contributors as well as for guest bloggers.
There are two techniques available to insert images to your markdown content:
- For Owners/Contributors and Guest Bloggers: In this method we use a simple reference technique. Upload your images to some reachable server and include the link in your markdown file. You don’t need go searching for a service to host your images, either. We have set up Github to do that. Browse to https://xrdocs.github.io/xrdocs-images/
and follow the instructions to upload an image and obtain a link.
Once you have the link, reference it in your document in the form:
![<image context>](https://<reference-link>/<image-name.jpg/png/jpeg>
- For owners/contributors only: Hit the insert image button in the Prose.io toolbar as shown below:
You can now drag and drop your images and insert them into the markdown file.
Some Useful Tips to make your blog look prettier
If you’d like to understand how this tutorial utilizes different colored Boxes to draw a reader’s attention or how to align text or images on the page quickly and easily, then proceed here:
Leave a Comment